| Print this Page | ||||||

|
||||||
|
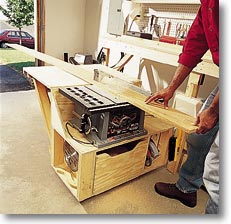
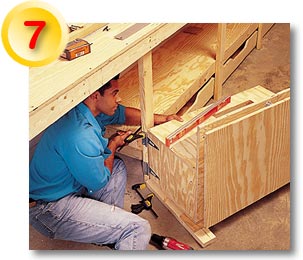
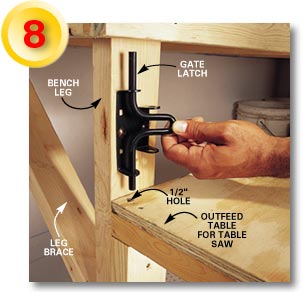
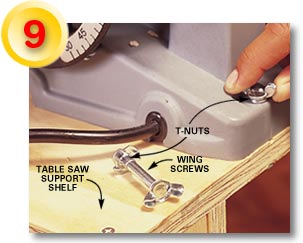
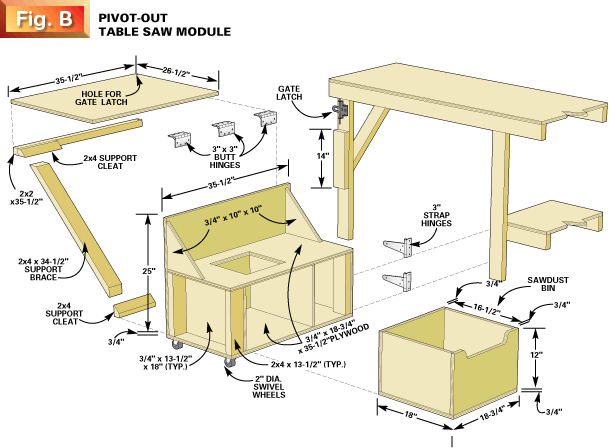
Operating a table saw mounted in this module is a snap. It has a built-in outfeed support table and storage for accessories and blades. It even sports a removable sawdust collection drawer. Hinges on one end and pivoting wheels on the other make it a cinch to swing out. Once it's out, flip up the outfeed support table and lock it into position with a simple gate latch for a rock-solid table saw station. Its location near the garage door lets you open the door for room to rip the longest wood the lumberyard sells. Quick-release wing screws attach the saw to the table for easy removal and portability (Photo 9). Our garage had plenty of room behind the table saw to feed in
long stock, and we could open the overhead door to feed the material
out toward the driveway. If your proposed location is tight, you can
move the table saw to a different bay or eliminate it entirely.
Depending on your portable table saw, you may have to customize the
dimensions of the module. Pay attention to the height of your saw to
make sure it'll clear the workbench above when it's put away. Also
adjust the outfeed table to make it even with the saw table. Some
table saws have larger cases that may also require a deeper base to
rest the saw on. |
|
|
||||
|
|
|
|||||
|
|
||||||
